If you have ever spent an afternoon manually entering products into Shopify; typing titles, writing descriptions, uploading images one by one, you have probably wondered whether there is a better way.
There is, but the answer depends on what kind of products you sell and how your inventory comes in.
Automation in Shopify is real, but it is not a single button that does everything. Understanding what can and cannot be automated will save you a lot of time before you commit to any particular approach.
What Can Actually Be Automated
The parts of a product listing that pull from existing data are the parts automation handles well. If a product already exists in a database somewhere because it has a barcode, a manufacturer record, or a supplier feed, then the title, description, category, dimensions, and images can appear without you typing a thing.
What automation cannot do is fill in the details that are specific to your store. Your retail price is a business decision. Your stock quantity changes constantly. If you sell in multiple variants; size, colour, material; those need to be set up for your store specifically.
Custom notes, tags, and any details that make your listing different from every other seller carrying the same product still need a person behind them.
That distinction matters because it sets realistic expectations. Automation handles the data retrieval. You handle the business decisions.
The Three Main Approaches
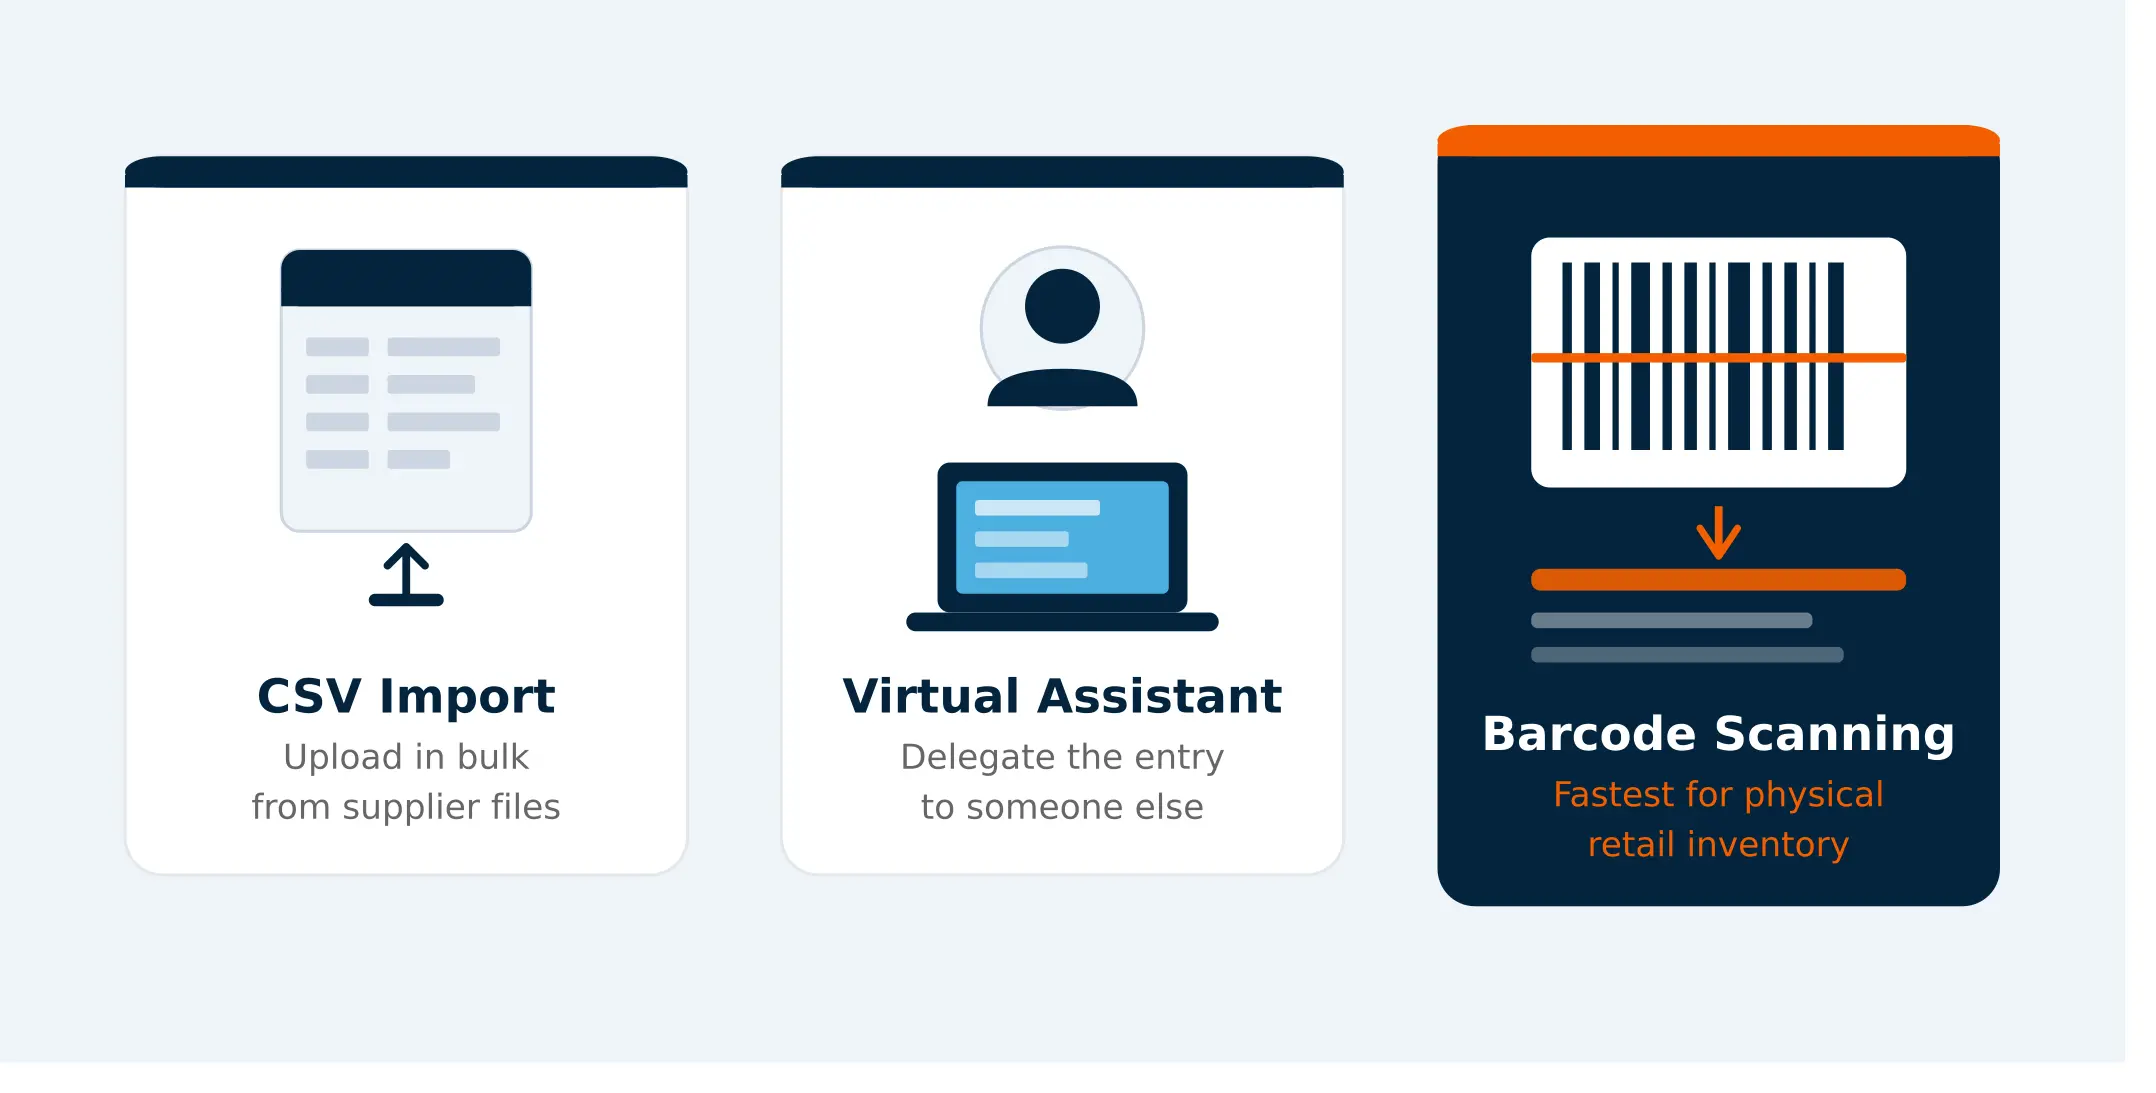
Option 1: CSV Import
Upload a spreadsheet of products directly into Shopify. Fast for bulk work when you already have supplier data files, but someone still has to build the spreadsheet.
Best for: stores with structured supplier data
Option 2: Virtual Assistant
Hand the data entry off to someone else. The work still gets done at roughly the same pace per product — it is just not your time being spent.
Best for: stores with budget to delegate
Option 3: Barcode Scanning
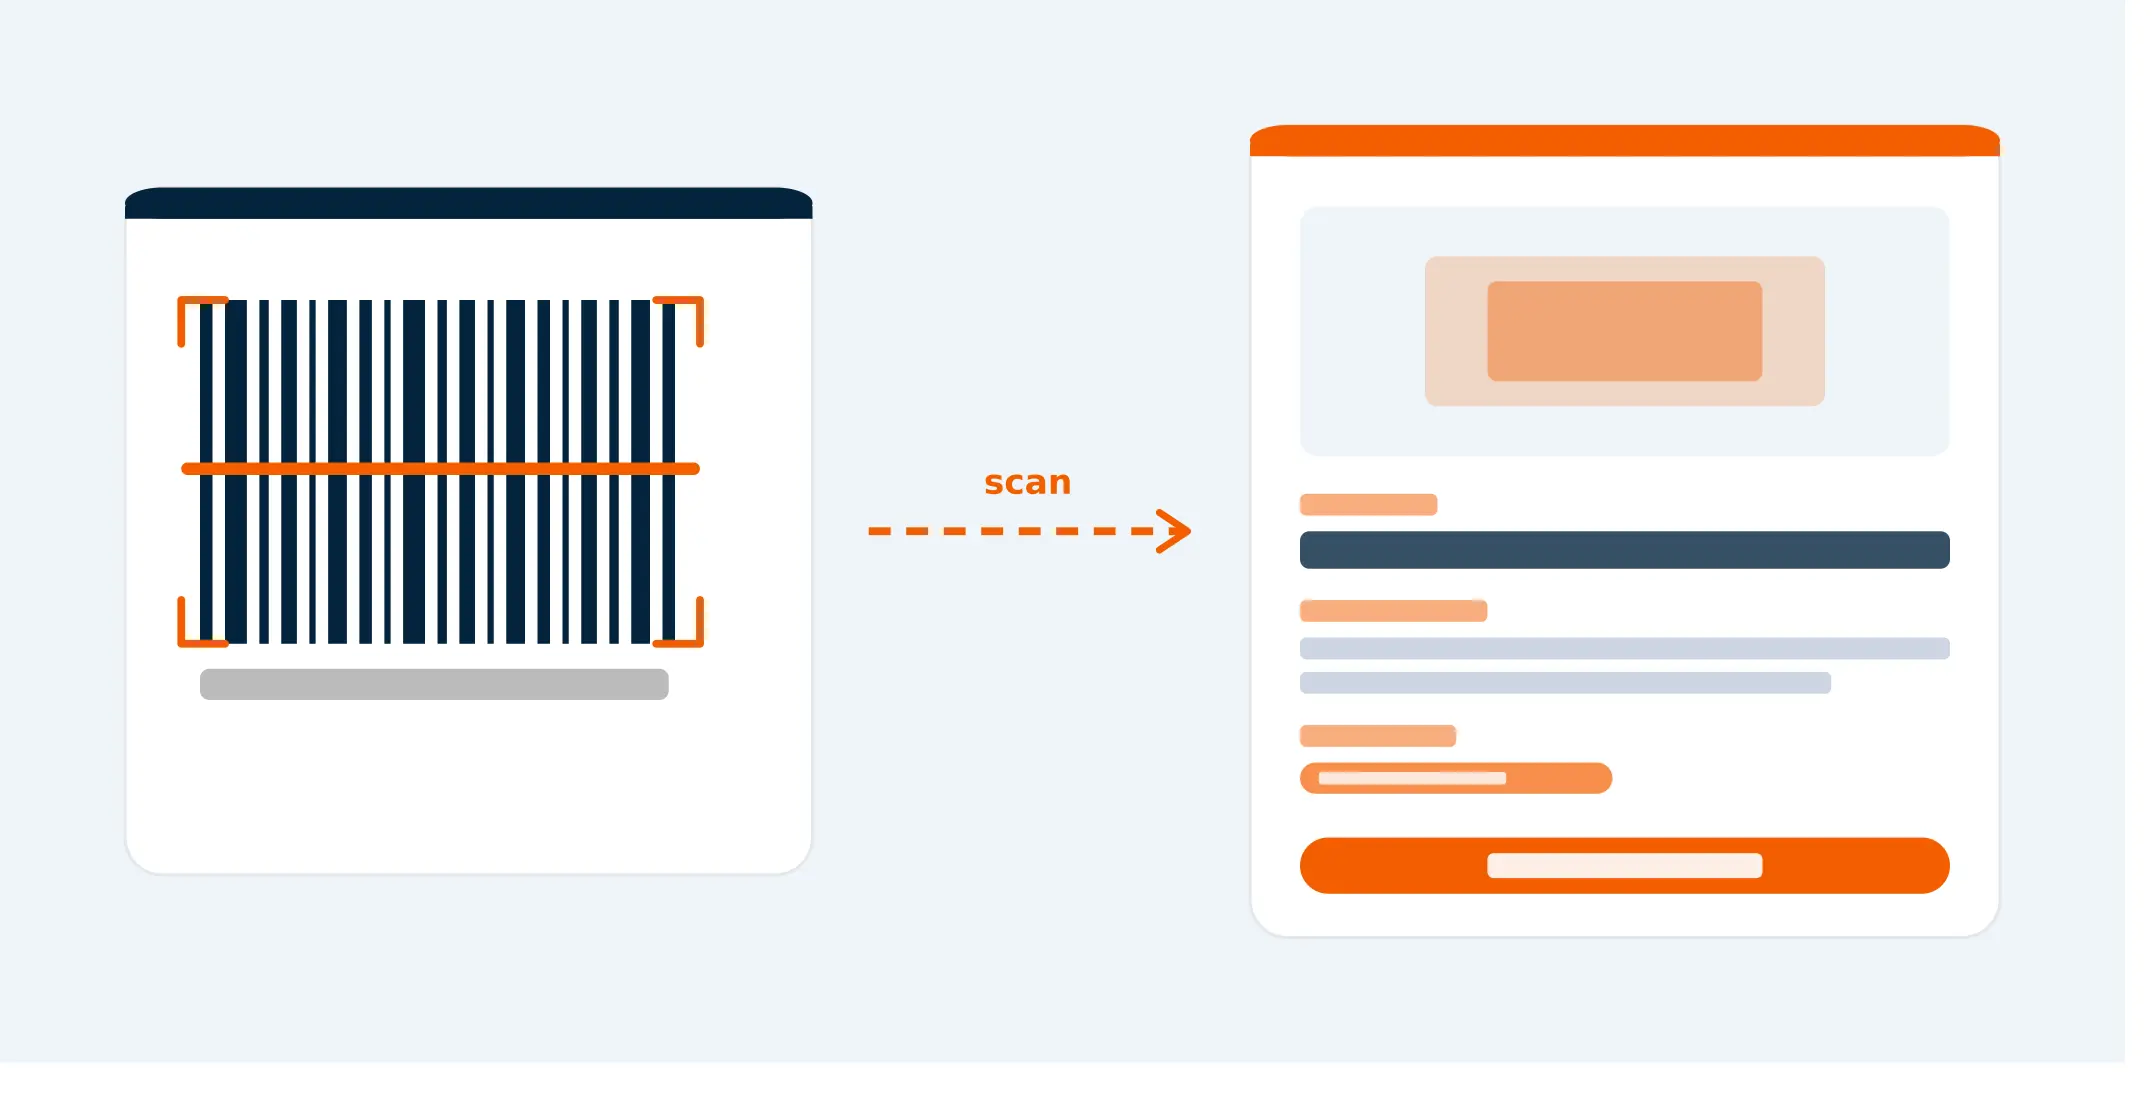
Scan a product barcode and a ready-to-review listing appears — title, description, category, dimensions, and images included. Review, price, and publish.
Best for: physical retail with barcoded stock
CSV Import
A CSV file is a spreadsheet where each row is a product and each column is a field; title, description, price, SKU, and so on.
Shopify accepts CSV imports natively, which means you can upload hundreds of products at once without entering them individually.
The catch is that someone still has to populate that spreadsheet. If you have a supplier who provides product data files, CSV import is efficient. If you are building the spreadsheet yourself from scratch, it is manual entry with extra steps.
This approach works best when you already have structured data coming from somewhere else.
Virtual Assistant Data Entry
Hiring a VA to handle product uploads is a common approach for stores that are scaling.
You hand off the work, and someone else does the typing. It is a reasonable solution, but the cost adds up over time and the quality depends entirely on the person doing it.
Every listing still takes roughly the same amount of time per product, it's just someone else's time.
Our guide to Shopify product data entry services breaks down what VAs, freelancers and agencies charge.
Barcode Scanning
This is where the process changes most noticeably for physical retail.
If your products have barcodes (most branded consumer goods, electronics, books, and grocery items do) scanning them is the fastest way to get from a product in your hand to a listing in your store.
How Barcode-Based Automation Works
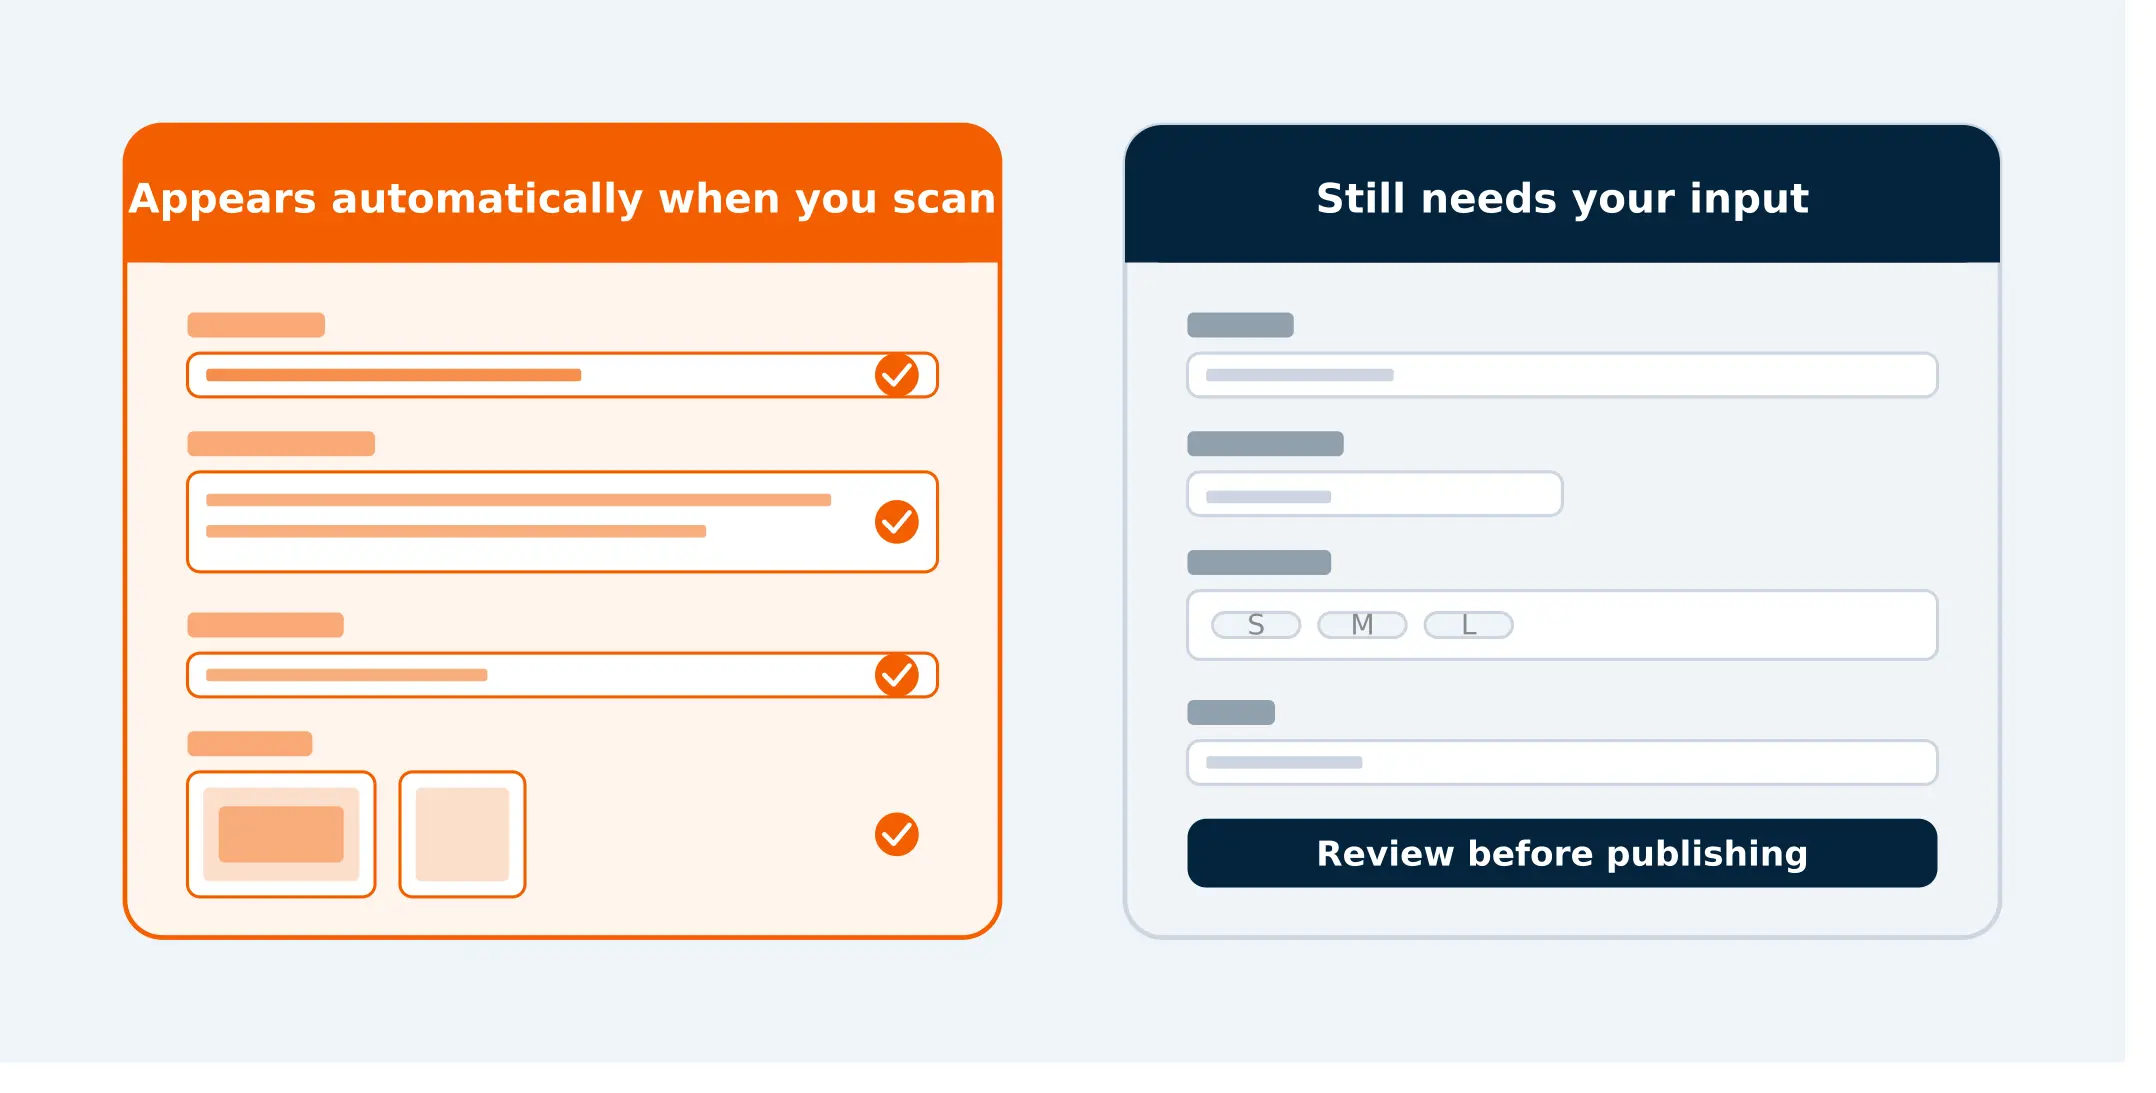
Point your camera at a barcode and a product title and description appear based on the product data tied to that code. You review what is there, make any edits you want, and move on. No blank form to fill in from scratch.
Appears automatically when you scan
Product title
Product description
Shopify category
Weight and dimensions
Product images
Still needs your input
Your retail price
Stock quantity
Variants (size, colour, etc.)
Custom tags and collections
Final review before publishing
What Still Needs a Human
Automation gets you most of the way there. The fields that still require your input before anything goes live are the ones that are specific to your business rather than the product itself.
Your retail price is the most obvious one. Variants (if you sell the same item in different sizes or colours) need to be configured for your store.
Any custom descriptions, tags you use to organise your catalogue, or collection assignments are yours to set.
And before publishing, it is worth reading the auto-populated description to make sure it matches how you want to present the product to your customers.
Step-by-Step: Setting Up Barcode Scanning in Shopify
1
Install Scan2Sell from the Shopify App Store
Search for Scan2Sell or use the link below. The app connects to your Shopify store during setup, no technical configuration needed.
2
Choose how you want to scan
Use your phone camera for one product at a time, connect a Bluetooth barcode scanner for faster throughput, or upload a CSV of barcodes to process a batch all at once.
3
Scan your first product
Point the camera at the barcode. A product listing appears with the title, description, category, dimensions, and images ready to review.
4
Review and add your store-specific details
Set your retail price, enter your stock quantity, and make any edits to the listing. Check the description reads the way you want it to before moving on.
5
Publish to Shopify
When everything looks right, publish. The product appears in your store immediately. Scan the next one and repeat.
Install Scan2Sell on Shopify
Once you have scanned a product and reviewed the listing, publishing takes one tap. The product appears in your Shopify store immediately.
If you are working through a large batch of inventory, you can also upload a CSV of barcodes and Scan2Sell will process them together rather than one at a time.
FAQs
**Does Shopify have built-in product automation? ** Shopify does not automatically populate product details from barcodes natively. You can import via CSV and use the barcode field to store a product's code, but the data lookup and listing generation requires an app like Scan2Sell.
**What types of products work best with barcode scanning? ** Branded retail products, electronics, books, grocery items, and most consumer goods with a UPC or EAN barcode tend to have strong data coverage. Handmade, vintage, or unbranded items without barcodes can use the photo scan option instead.
Can I still edit the listing after scanning? Yes, always. Every listing that appears from a scan is a draft. You review, edit, price, and choose when to publish. Nothing goes live without your confirmation.
***What if I have hundreds of products to list? *** Scan2Sell supports bulk processing via CSV barcode upload, so you are not limited to scanning products one at a time. Upload a file with your barcodes and the listings are processed together. How much does Scan2Sell cost? Scan2Sell is $99 for unlimited scans.